Image Optimization: Make Your Site Load 3x Faster
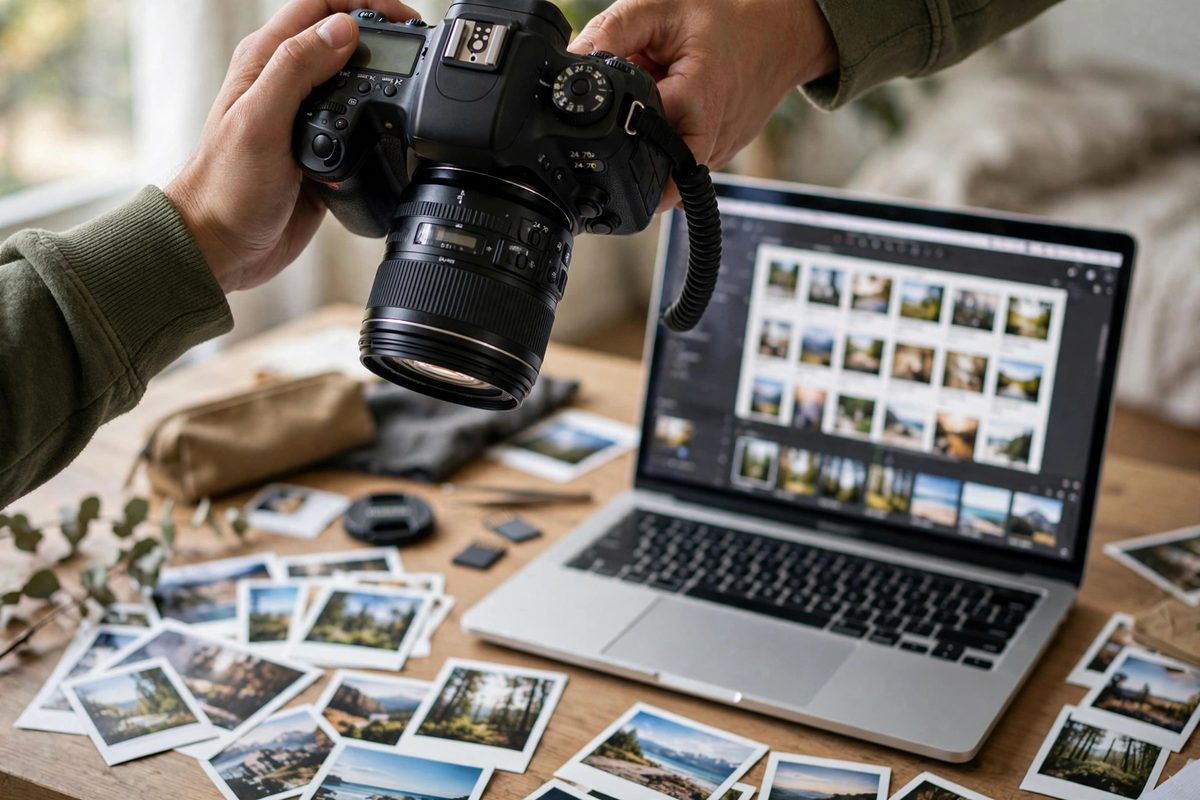
On a typical small business website, images account for more than half of everything a visitor must download — and image optimization is the fastest, cheapest speed win available. One unoptimized photo can outweigh your entire page of text and code combined. The process is straightforward: resize, compress, and serve images in modern formats. Do it right and pages routinely load two to three times faster.
Why Image Optimization Matters So Much
A photo from a modern phone is 3,000–4,000 pixels wide and weighs 3–8 MB. Uploaded straight to a website, every visitor downloads that full file — even though it displays at perhaps 800 pixels wide. Five such photos means 25+ MB of downloads: 10–20 seconds of waiting on a mobile connection.
The same photo, resized to its display size and compressed, weighs 80–150 KB and looks identical to the human eye — a 95%+ reduction. If your whole site feels sluggish, confirm images are the bottleneck with our speed diagnosis guide before diving in.
Step 1: Resize to Display Dimensions
Never serve a 4000-pixel image in an 800-pixel slot. Resize each image to roughly the largest size it will display at:
- →Full-width hero images: 1920 px wide is plenty, even on large monitors.
- →Content images: 800–1200 px wide.
- →Thumbnails and icons: 300–600 px wide.
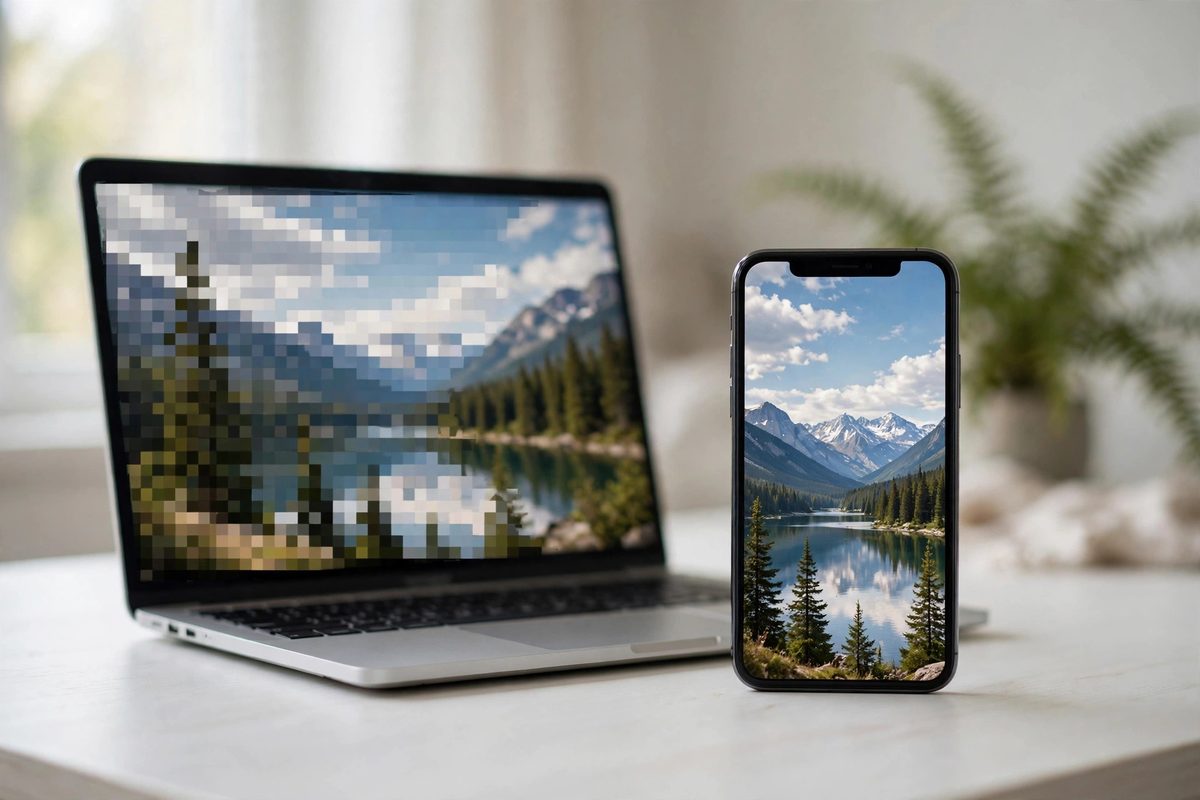
Step 2: Compress Every Image
For photographs, JPEG compression at 70–80% quality looks essentially identical to the original at a fraction of the size. Good free tools:
- →Squoosh.app — Google's free browser tool with side-by-side quality comparison.
- →TinyPNG / TinyJPG — smart compression with a generous free tier.
- →WordPress plugins (ShortPixel, Imagify, Smush) — auto-compress on upload and bulk-optimize your existing library.
Step 3: Switch to WebP
WebP produces files roughly 25–35% smaller than JPEG at the same visual quality, and every current browser supports it. Enable WebP conversion in your optimization plugin (visitors get WebP automatically, with graceful fallback), or convert in Squoosh with one click. Photographs should almost always be WebP today; logos and flat graphics can stay PNG. For a broader speed strategy beyond images, see our complete website speed guide.
File-size targets: hero images under 300 KB (ideally under 150 KB), content images under 150 KB, thumbnails under 50 KB. Bigger than target? Resize or compress further — the visual difference is almost never noticeable.
Step 4: Lazy-Load Below the Fold
Lazy loading downloads images further down the page only when the visitor scrolls near them. If your homepage has 20 images but 4 are visible initially, lazy loading cuts the first download by roughly 80%. Modern browsers do it natively with loading="lazy", and WordPress has applied it automatically since version 5.5. One rule: never lazy-load your hero image — it should appear immediately.
Image Optimization Checklist
- ✓All images resized to display dimensions (1920 / 1200 / 600 px tiers)
- ✓Photographs compressed to 70–80% quality JPEG or WebP
- ✓WebP conversion enabled (plugin or manual)
- ✓Lazy loading on below-fold images; hero loads eagerly
- ✓Responsive sizes (srcset) so phones get smaller files — also see how to pick website images that convert
- ✓Descriptive file names and alt text on every image (helps SEO too)
5 Image Mistakes That Kill Load Times
Beyond the basics, watch for these repeat offenders we see on real small business sites:
- →Uploading PNG screenshots as photos. Screenshots save as PNG by default and can weigh 2–5 MB. Convert photographic screenshots to JPEG/WebP.
- →Retina double-sizing without compression. Serving 2x images for sharp displays is fine — but a 2x image still needs compression, or you have doubled the problem.
- →Background videos on autoplay. A 10 MB hero video dwarfs every image optimization you do. Use a static poster image with click-to-play instead.
- →No width/height attributes. Without them, the page layout jumps as images load — hurting both speed scores and user experience.
- →Forgetting the favicon and logo. Small files, but an unoptimized 1 MB logo referenced on every page adds up across a whole visit.
Frequently Asked Questions
What is the best image format for websites?
WebP for photographs — it is 25–35% smaller than JPEG at equal quality and works in all modern browsers. Use PNG only for logos and graphics with sharp lines or transparency.
Will compressing images hurt quality?
Not visibly, if done right. JPEG at 70–80% quality is indistinguishable from the original for web display. Always compare side by side in Squoosh before committing.
How much faster will image optimization make my site?
Image payload typically drops 70–90%, which for image-heavy small business sites means pages loading two to three times faster — often the single biggest improvement available.
Should I optimize images myself or hire someone?
A handful of images is a fine DIY job with the free tools above. A media library with hundreds of uploads is worth outsourcing — pair it with caching setup and the transformation takes an afternoon. Talk to us if you want it handled professionally.

Muhammad Usman designs and builds high-converting websites for small businesses — and writes practical guides like this one from real project experience.
Keep Reading

What Is Website Caching? A Simple Explanation

Why Is My Website So Slow? A Diagnosis Guide

HTTP vs HTTPS: Why SSL Matters for Every Website
Need a Website That Actually Performs?
Fixed pricing, professional build, live in weeks. Tell us about your project — free strategy call, no pressure.